Install PDF2Image
PDF2Image has an intuitive step-by-step installer, guiding you to setup the app on your computer.
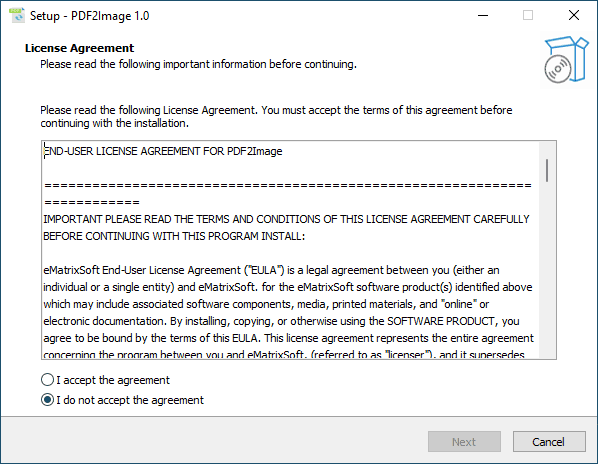
On End User License Agreement page, click I accept the agreement and Next button to proceed. Please note that you must agree to the agreement to continue using the product.

On Select Destination Location page, you are required to select the location where you want to install the application files of the product. Usually, you can use the default location as shown above. Otherwise, if you want to change the folder, please make sure you select a non-system folder on local fixed hard disk drive.
Click Next buttton to proceed.
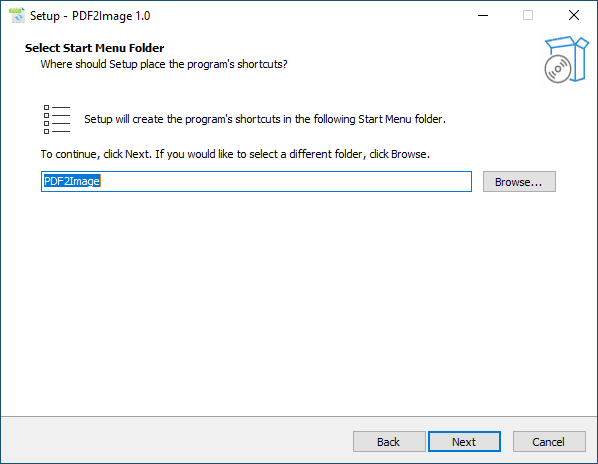
On Select Start Menu Folder page, you can select or change the application's entry in Start Menu. If you want the applicaton to be more concealed, you can check Don't create a Start Menu folder option so that no program shortcut will be created in Start Menu.
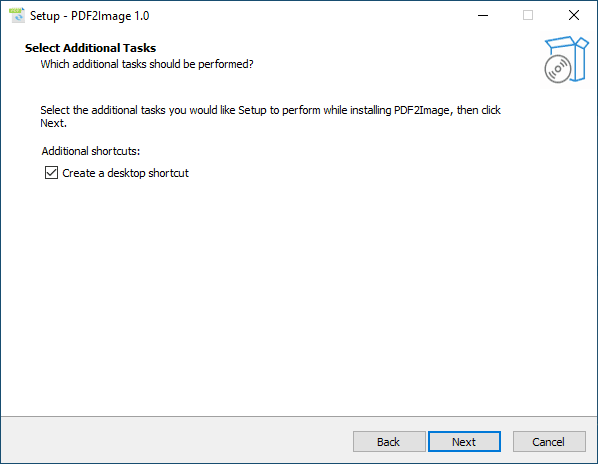
Next step, you will be prompted to create a desktop icon for the application or not. In the same way, You can uncheck the option if you wish the app more concealed. Anyway, you can find the program folder at the destination location you selected earlier.
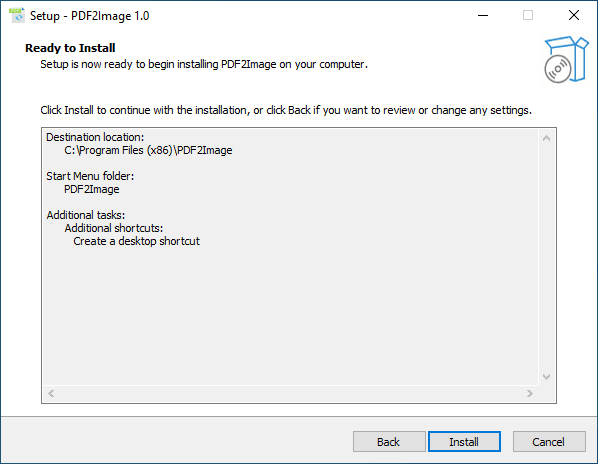
Now review your settings and click Install button to start installing. The installer will take care of the process and it will usually finish in seconds.

Done! Check Launch PDF2Image option and click Finish button to close the installer and start the app immediately. Otherwise, uncheck it if you want to use it later.